
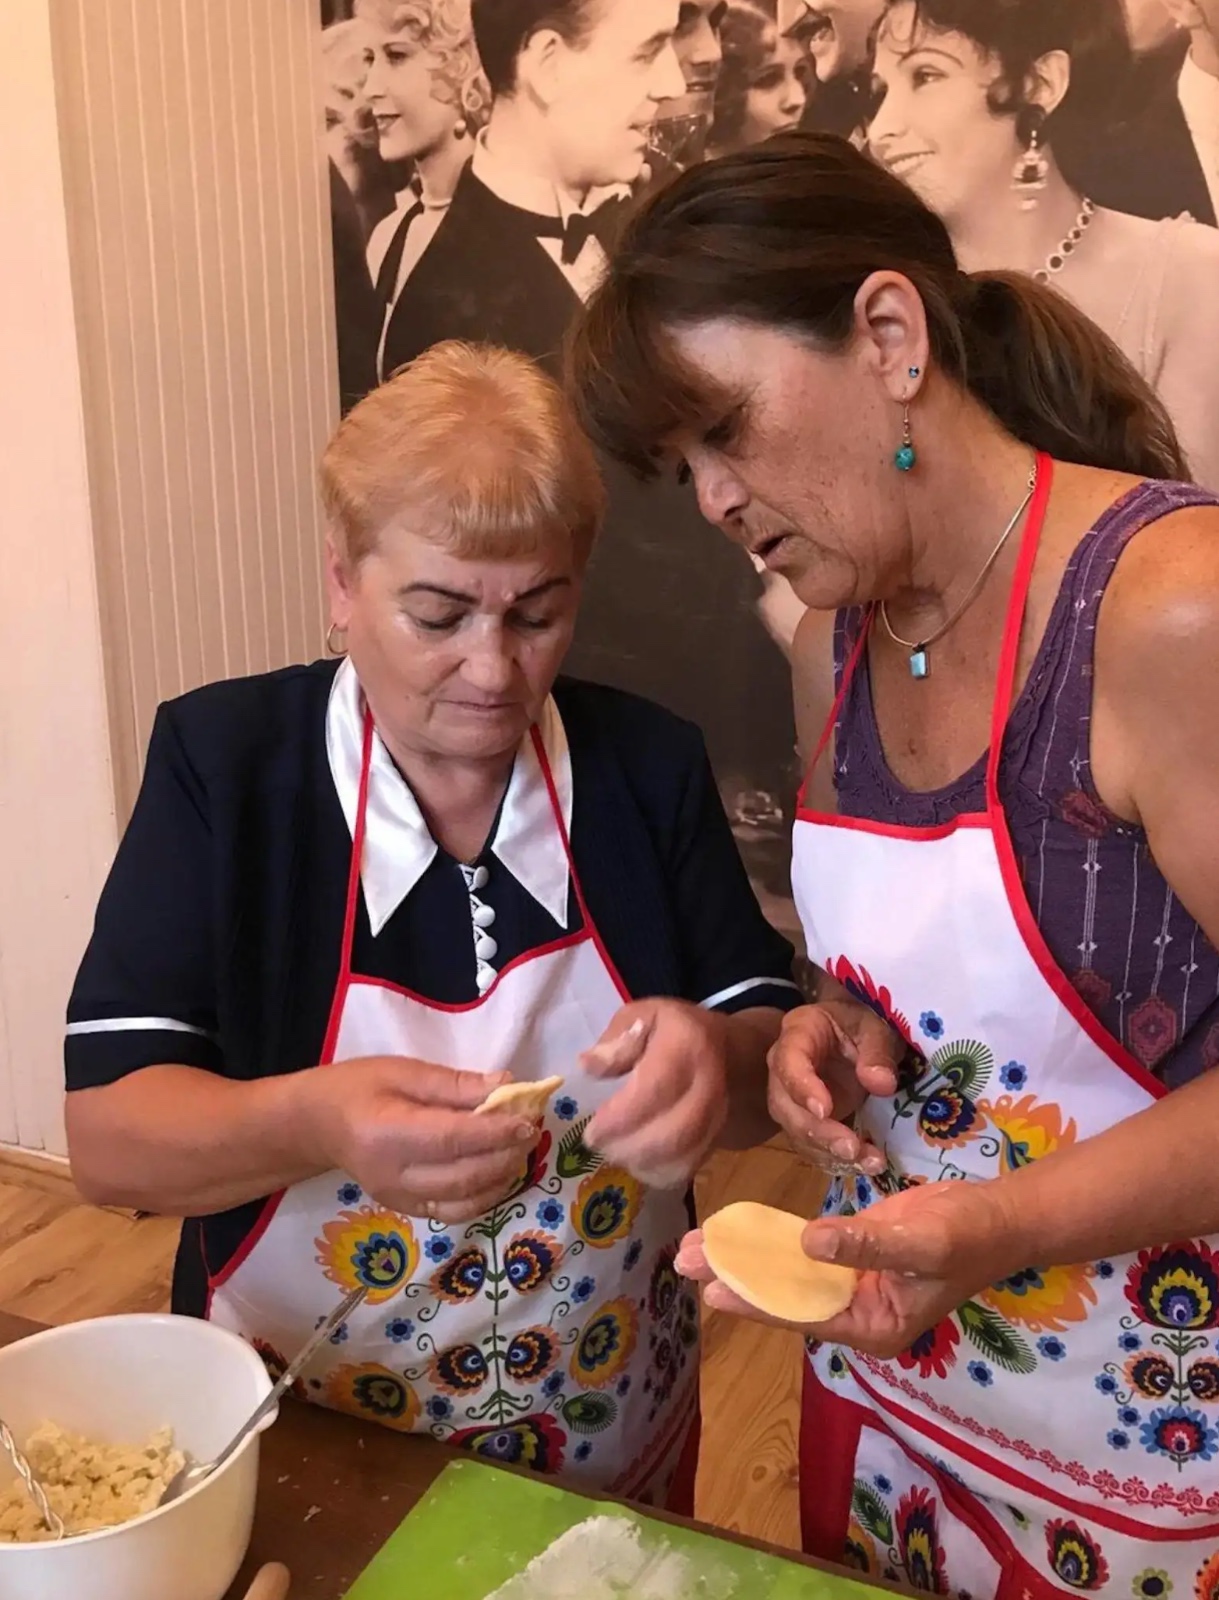
There are few foods as deeply woven into the fabric of Polish culture as the pieróg. From Christmas Eve tables laden with mushroom-filled versions to summer festivals where grandmothers fold thousands by hand, this humble dumpling carries centuries of tradition in every crescent-shaped pocket. Making pierogi from scratch may seem daunting to the uninitiated, but with patience, practice, and respect for the process, anyone can master this cornerstone of Polish cuisine. This guide will walk you through every stage—from selecting your filling to achieving that perfect pan-seared finish.
A Brief Word on the Name
Before we begin, a small linguistic note. “Pierogi” is already plural in Polish; a single dumpling is a “pieróg.” English speakers often say “pierogies,” which makes Polish grandmothers wince, but the meaning is clear enough. For the purposes of this guide, we’ll use the correct forms, but don’t let grammar anxiety stop you from getting into the kitchen.
Part One: Understanding the Dough
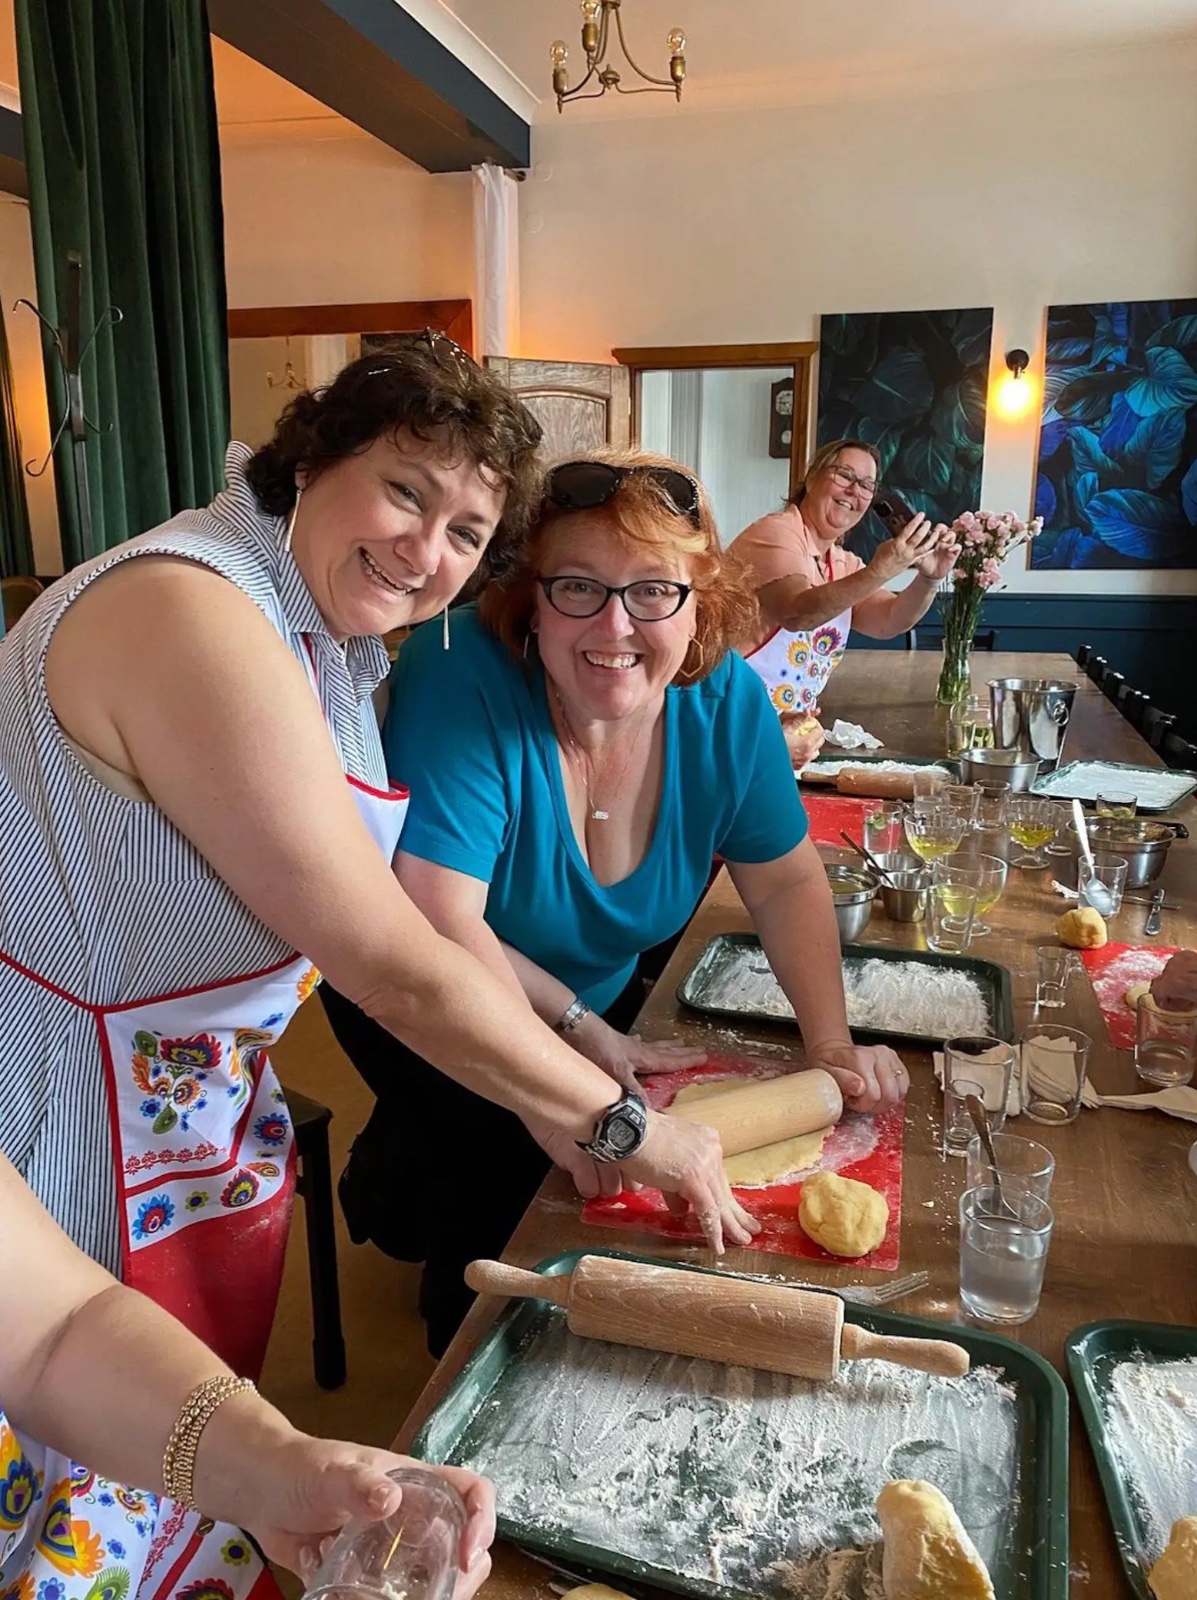
The soul of a making great pieróg lies in its dough. There are two main schools of thought in Poland: the “ciasto miękkie” (soft dough), which often includes eggs, sour cream, or milk, and the simpler flour-and-water dough that produces a firmer, more rustic wrapper. For beginners, I recommend the soft dough—it’s forgiving, rolls out easily, and produces a tender, slightly chewy wrapper that complements nearly any filling.
The Classic Soft Dough Recipe
Ingredients:
3 cups all-purpose flour (plus extra for dusting)
2 large eggs
½ cup sour cream
¼ cup warm water (more if needed)
1 teaspoon salt
2 tablespoons melted butter (optional, for richness)
Method:
Begin by sifting the flour onto a clean work surface or into a large bowl. Make a well in the center—this is the traditional Polish method, and it allows you to incorporate ingredients gradually. Crack the eggs into the well, add the sour cream, salt, and melted butter if using. Using a fork, gently beat the wet ingredients together, then begin drawing flour in from the edges. As the mixture thickens, switch to your hands.
Knead the dough for 8 to 10 minutes. You’re looking for a smooth, elastic ball that springs back slightly when pressed. If the dough feels dry or crumbly, add water a tablespoon at a time. If it’s sticky, dust with flour—but be conservative. Over-floured dough becomes tough; over-hydrated dough becomes impossible to work with.
Once kneaded, wrap the dough tightly in plastic wrap or place it in a covered bowl and let it rest for at least 30 minutes at room temperature. This rest is non-negotiable. It allows the gluten to relax, making the dough far easier to roll thin without it springing back. Some cooks rest it for up to two hours; an hour is ideal.
Part Two: Choosing Your Filling
The filling is where pierogi become personal. Classic options include:
Ruskie (Potato and Cheese): The most iconic. Combine 2 cups mashed potatoes with 1 cup farmer’s cheese (twaróg) or dry curd cottage cheese, 1 finely chopped sautéed onion, salt, and pepper. The mixture should be thick enough to hold its shape—if it’s too loose, the pierogi will leak.
Kapusta (Sauerkraut and Mushroom): Essential for Christmas Eve. Sauté drained sauerkraut with dried mushrooms (rehydrated and chopped), onion, and a pinch of allspice. This filling is intensely savory and pairs beautifully with a light dough.
Mięsne (Meat): Often made with leftover roast or boiled beef, ground fine and mixed with sautéed onion and a splash of broth for moisture.
Sweet Options: Sweet cheese (twaróg mixed with sugar and vanilla), blueberry, or plum fillings turn pierogi into dessert.
Whatever you choose, the golden rule is this: the filling must be fully cooked and well-seasoned before it goes into the dough. The brief boiling and frying the pierogi undergo will not cook raw meat or soften raw vegetables sufficiently. Season aggressively—the dough is bland, so the filling must carry the flavor.
Consistency Matters
The ideal filling is moist but not wet. If yours is too loose, add breadcrumbs or a spoonful of flour. If it’s too dry, add a little butter or broth. Test a small spoonful: it should hold together when pinched. This consistency ensures neat, plump pierogi rather than sad, leaking ones.
Part Three: Rolling, Filling, and Shaping
This is the heart of the process—the part that separates a good pieróg from a great one. Set yourself up properly: a floured surface, a small bowl of water, a spoon, and a baking sheet lined with a floured cloth. Work in batches, keeping the rest of the dough covered to prevent it from drying out.
Rolling the Dough
Divide the rested dough into manageable portions—about the size of a tennis ball. Keep the rest covered. On a lightly floured surface, roll one portion out to a thickness of about 1/16 inch (roughly 1.5 millimeters). You should be able to see the faint shadow of your hand through the dough. Too thick, and the pierogi will be doughy; too thin, and they’ll tear.
Use a round cutter—a glass, a biscuit cutter, or a traditional Polish pierogi cutter—about 3 inches in diameter. Press firmly and twist slightly to cut clean circles. Gather the scraps, re-roll, and continue. Avoid re-rolling more than once or twice, as the dough becomes tough.
Filling and Sealing
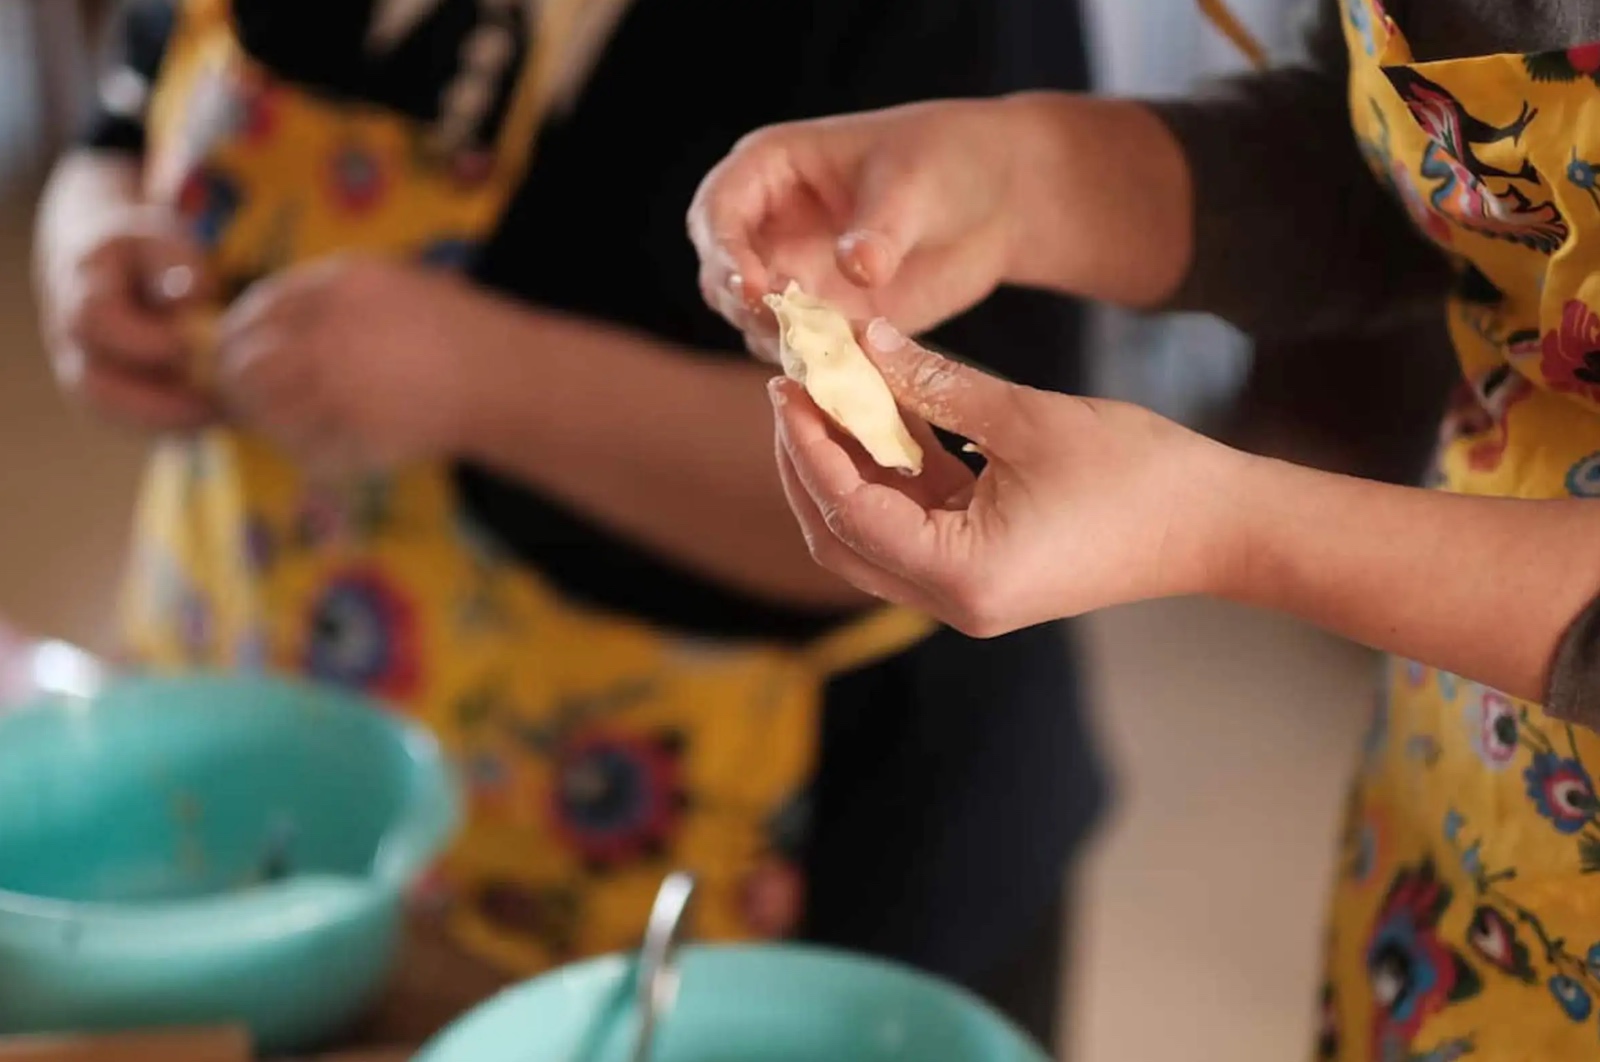
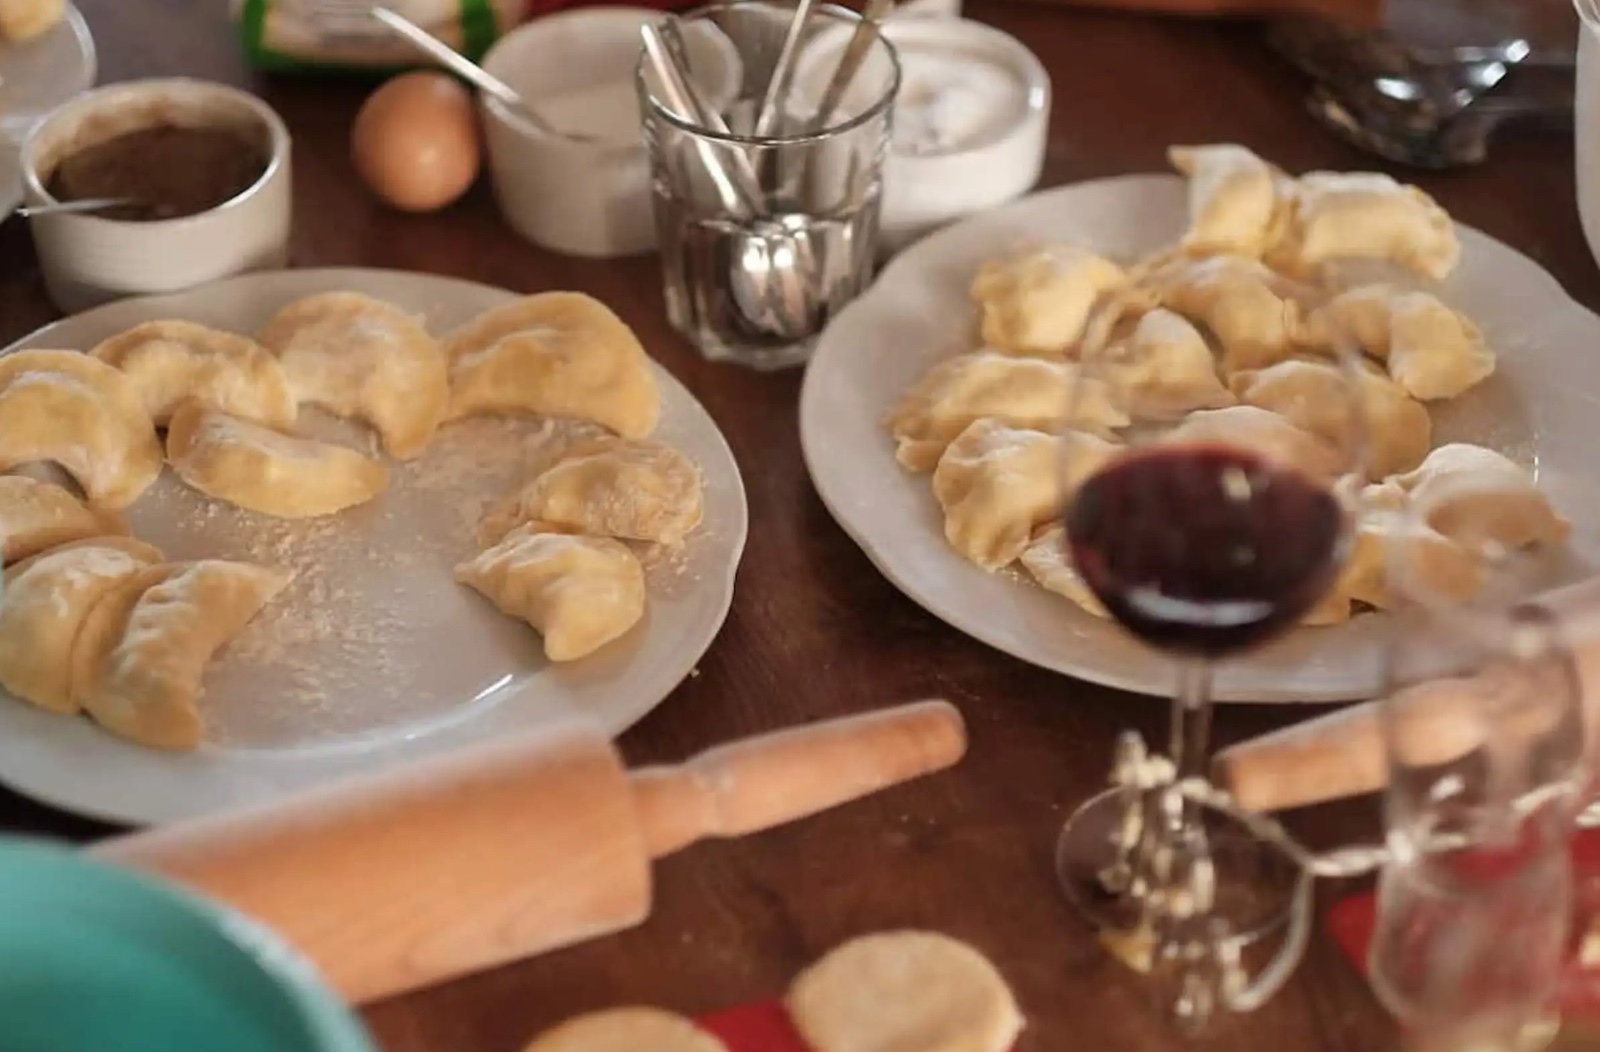
Place a circle of dough in your palm. Add about a tablespoon of filling—resist the urge to overfill. A properly filled pieróg is plump but not bursting. Fold the dough over the filling to create a half-moon shape. Press the edges together firmly, starting from one end and working to the other, expelling any air as you go. Air pockets cause pierogi to burst during boiling.
Now, the signature move: crimp the edge. Using your thumb and forefinger, pinch and twist the sealed edge into a rope-like pattern, or simply press with the tines of a fork. This not only looks beautiful but reinforces the seal. If the dough isn’t sticking, dip your finger in water and moisten the edge before sealing.
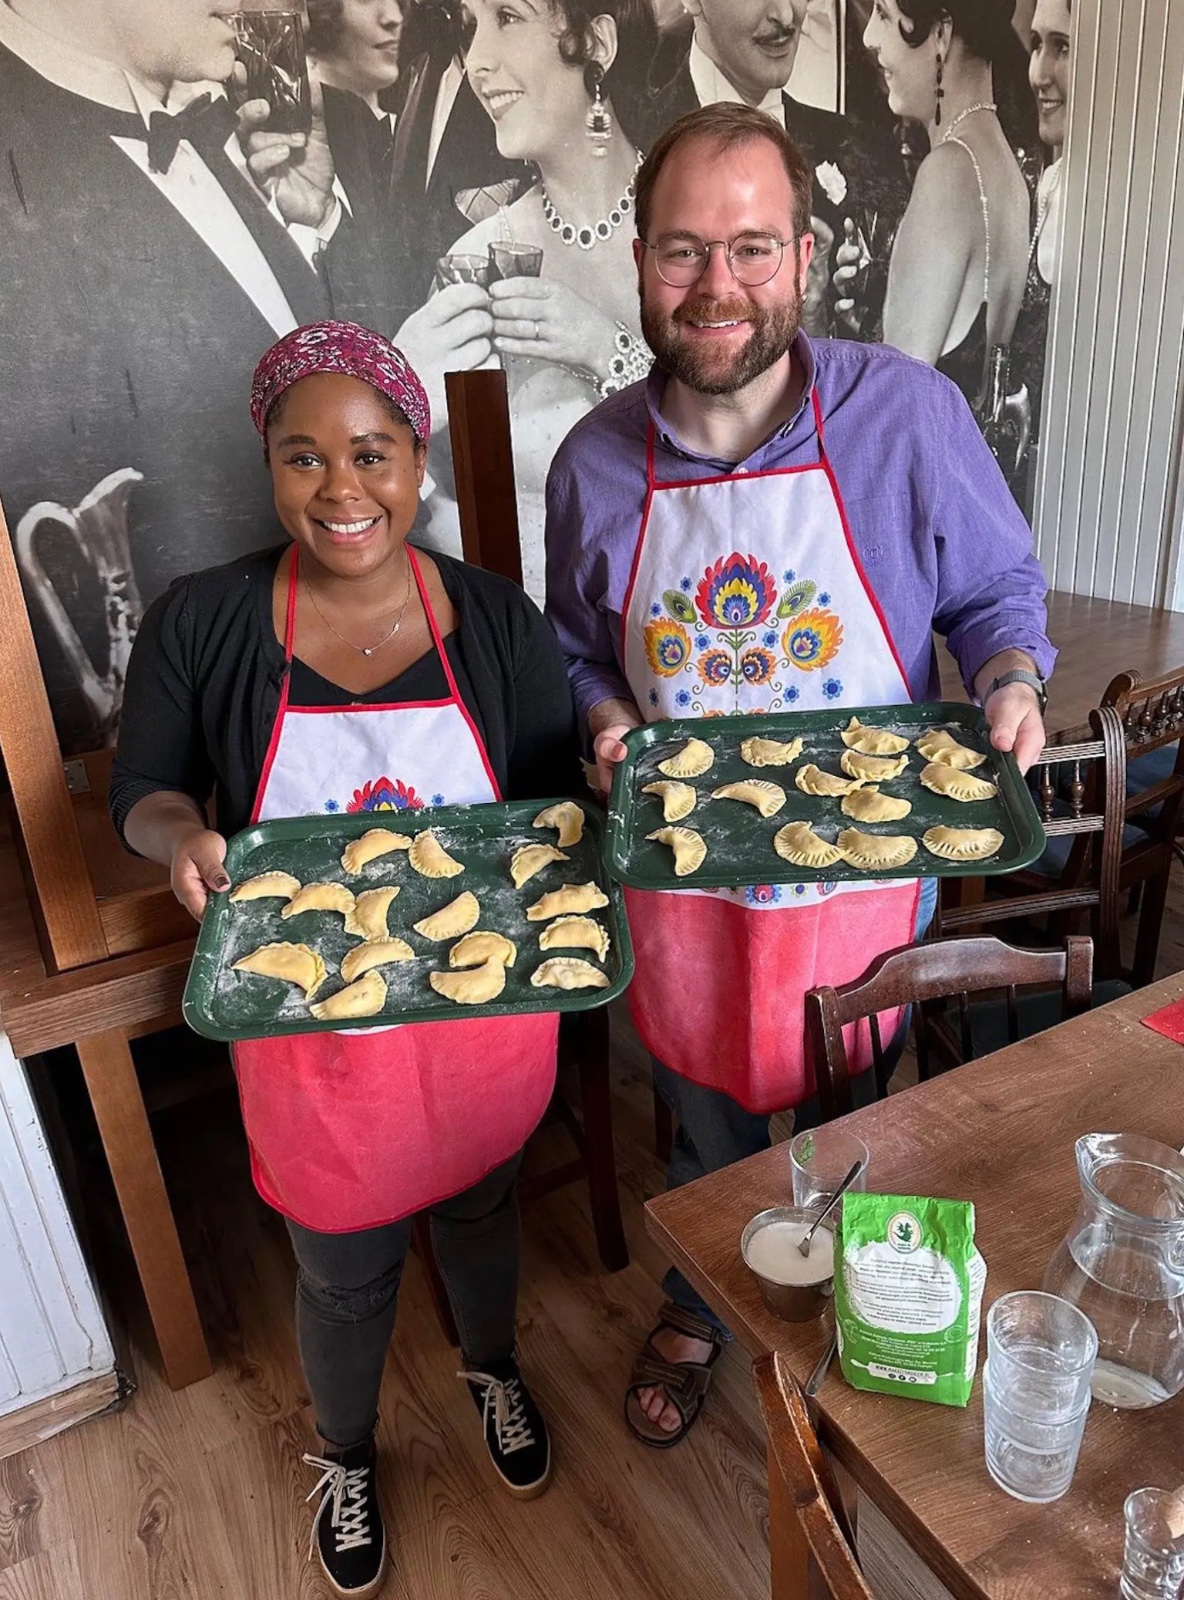
Place finished pierogi on the floured cloth, not touching each other. If you’re not cooking them immediately, they can be frozen at this stage: freeze them on the tray until solid, then transfer to bags.
Part Four: Cooking—The Boil and the Fry
Cooking pierogi is a two-stage process, and both stages matter.
Stage One: Boiling
Bring a large pot of generously salted water to a rolling boil. Add the pierogi in batches—do not crowd the pot, or they’ll stick together. Stir gently once or twice to prevent them from adhering to the bottom.
Making Fresh pierogi will float to the surface in about 2 to 3 minutes after the water returns to a boil. Once they float, let them cook for another minute, then remove with a slotted spoon. If using frozen pierogi, do not thaw—add them directly to the boiling water and add an extra minute or two to the cooking time.
Drain them briefly on a towel or rack. At this point, they’re technically cooked and can be served as-is, drizzled with melted butter and topped with fried onions. But the true Polish experience involves stage two.
Stage Two: Frying
Heat a generous knob of butter (or a mix of butter and oil) in a heavy skillet over medium heat. Add the boiled pierogi in a single layer—again, work in batches. Fry until golden and crisp on each side, about 2 to 3 minutes per side. The goal is a crisp, buttery exterior that contrasts with the soft filling.
Some cooks add finely chopped onion to the pan and fry everything together, letting the onions caramelize alongside the pierogi. This is highly recommended.
Part Five: Serving and Accompaniments
Pierogi are best served immediately, hot from the pan. The traditional accompaniments are:
Sour cream (śmietana)—cool, tangy, and essential.
Fried onions—sweet and golden.
Skwarki—crisp fried bacon bits or rendered pork fat, for the indulgent.
Fresh chives or dill—for brightness.
For sweet pierogi, melted butter, sugar, and a drizzle of cream are classic.
Leftover pierogi reheat beautifully in a skillet with a little butter, or in the oven. Microwaving is discouraged—it turns them rubbery.
Troubleshooting: Common Pitfalls and How to Avoid Them
The dough tears while rolling. Your dough may be too dry or under-rested. Add a touch of water, knead briefly, and let it rest longer.
The pierogi burst during boiling. This usually means overfilling, trapped air, or an imperfect seal. Use less filling, press out air, and crimp carefully.
The filling leaks into the water. Same as above—check your seals. Also ensure your filling isn’t too wet.
The dough is tough. You likely added too much flour or over-kneaded. Next time, err on the side of a slightly sticky dough and dust only as needed.
The pierogi stick together. Dust your tray generously with flour, keep them separated, and don’t overcrowd the pot.
A Note on Tradition and Variation
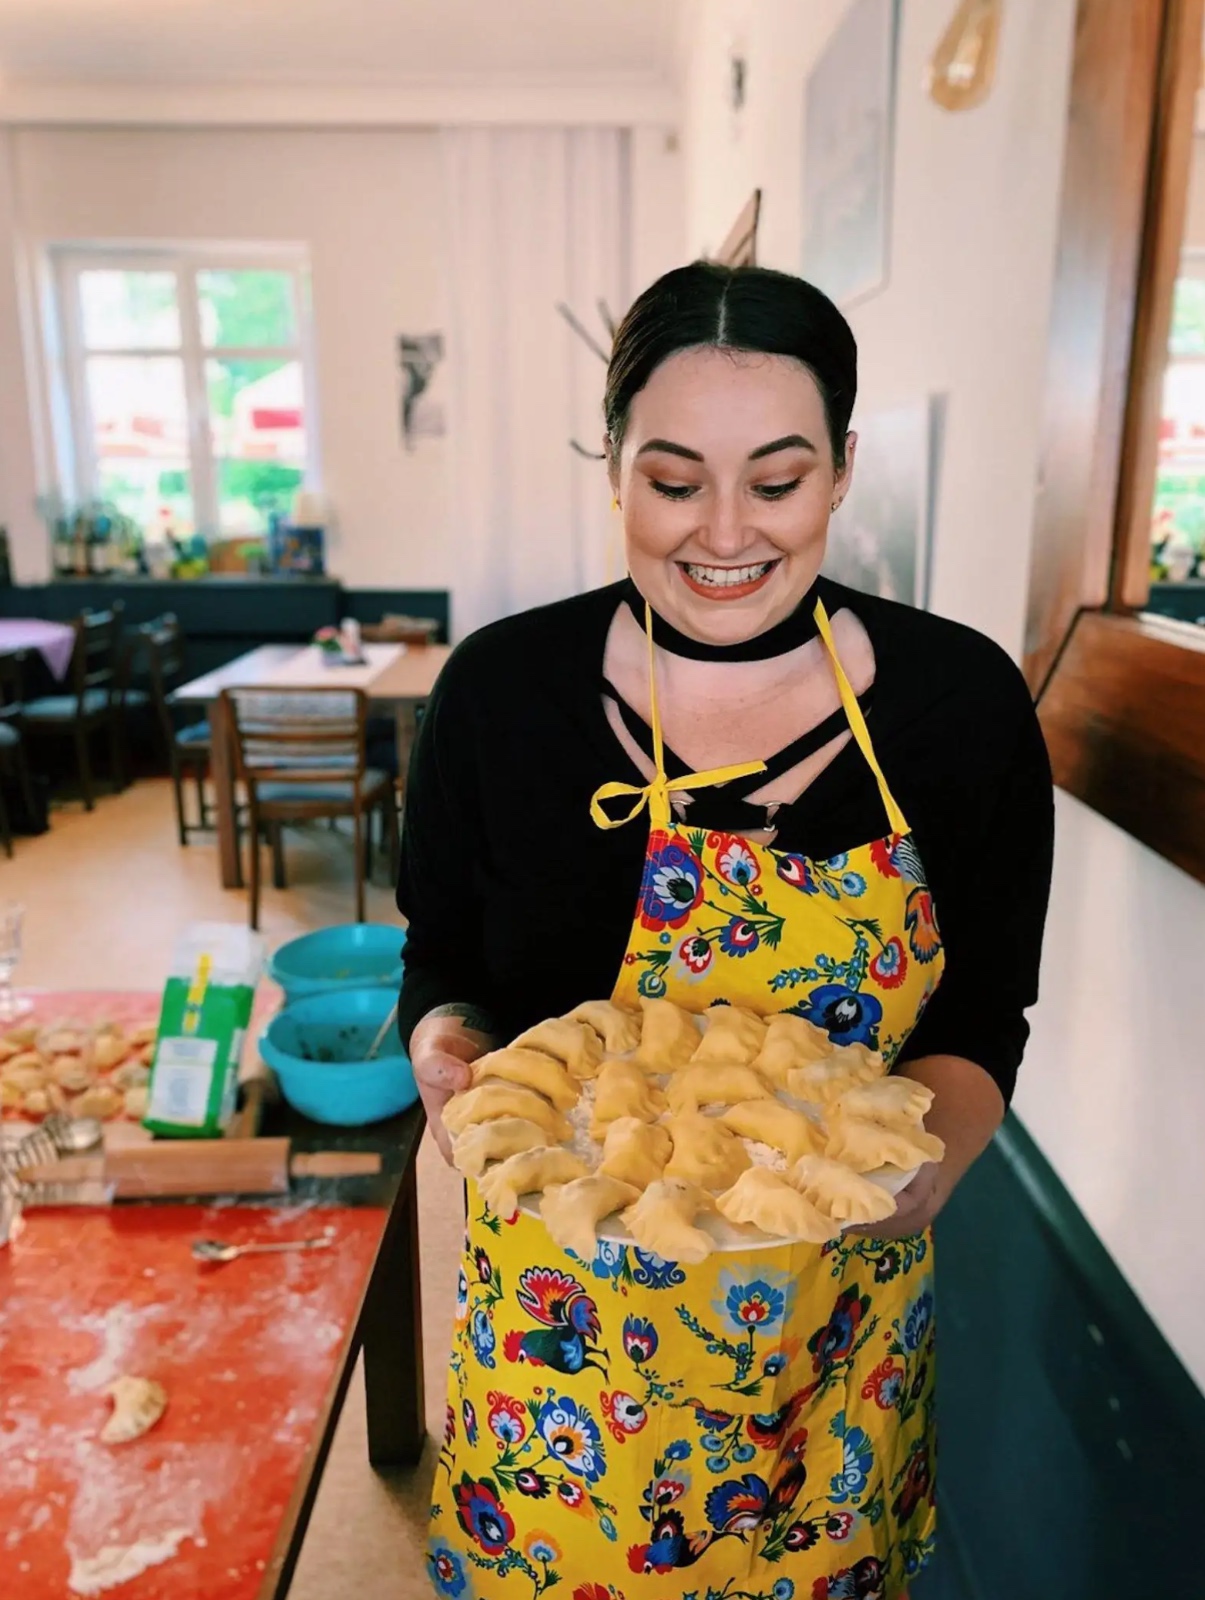
Every Polish family has its own pierogi recipe, and every region has its own specialties. In some homes, the dough is made with milk instead of sour cream. In others, the filling includes a pinch of marjoram. Some cooks boil, then fry; others fry raw pierogi directly (a method called “pierogi z patelni”). None of these is wrong.
What matters is the act itself: the slow, meditative work of rolling, filling, and crimping; the shared labor of a kitchen full of hands; the reward of a plate of golden dumplings, steaming and fragrant, passed around a table.
Conclusion: Practice Makes Perfect
The first batch of pierogi you make will not be perfect. The edges may be uneven, the seals may leak, the dough may be stubborn. Make them anyway. The second batch will be better. By the tenth, your hands will know the rhythm—the roll, the fill, the fold, the crimp—and you’ll understand why this simple food has endured for centuries.
Pierogi are not fast food. They are an act of care, a connection to history, and a gift to whoever sits at your table. So flour your counter, roll up your sleeves, and begin. Smacznego—bon appétit.
Learn more about Polish food tours with GetLocals.

Bryn Jacobs Chief Editor
Hello dear Travelers! I am Bryn Jacobs and I am your travel advisor. Having a vast experience in traveling throughout Eastern Europe and having researched this part of the world myself. I write articles on the site about travel experiences in Eastern Europe with statistics and interesting facts.